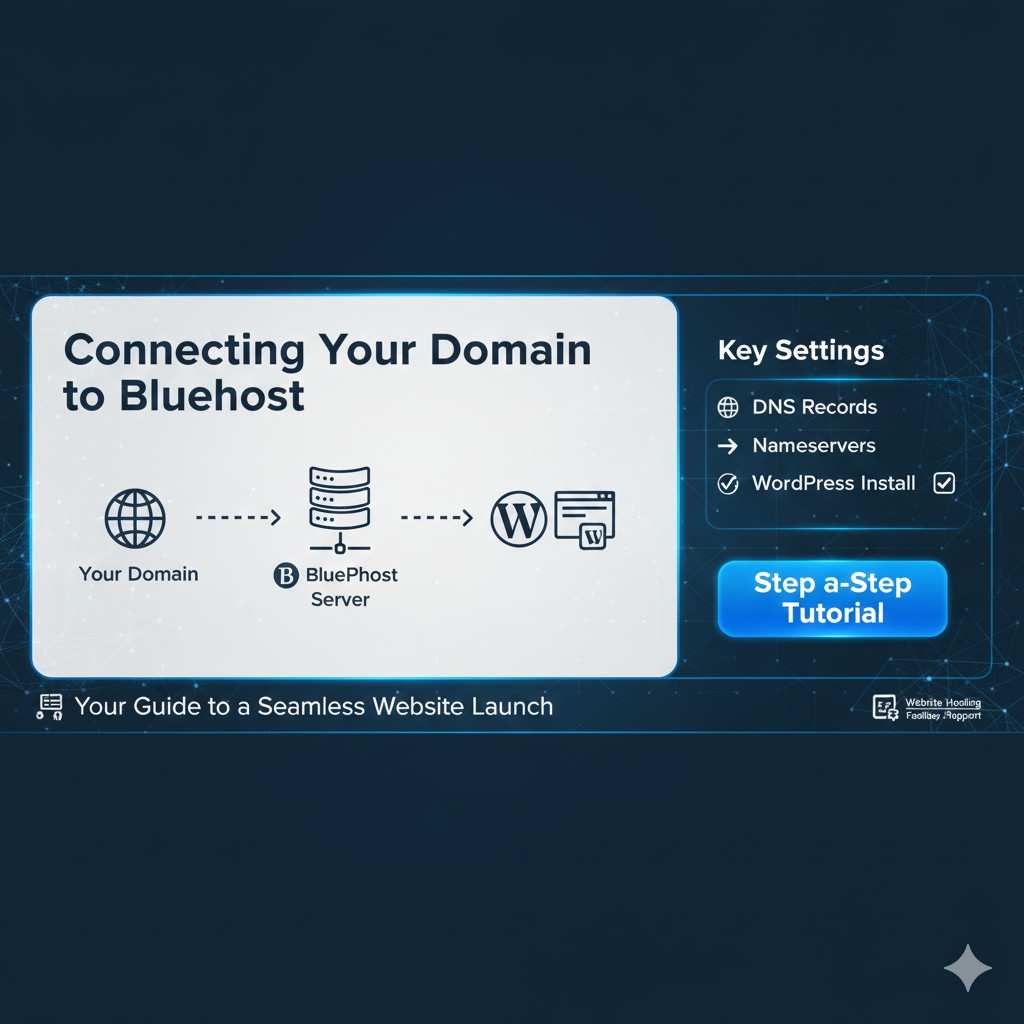
Connecting a domain to Bluehost is essential for getting your website live. Whether you are a small business owner, blogger, or entrepreneur, proper configuration ensures a secure, fast, and accessible site. This guide covers DNS settings, nameserver updates, WordPress setup, and includes the best tips for beginners.
Why Connect Your Domain to Bluehost
Connecting your domain to Bluehost ensures your website is live and accessible globally. Without proper configuration, your site may face downtime, broken links, or email delivery issues. Proper DNS management ensures visitors reach your website efficiently.
Tip: Beginners should always double-check nameserver entries to avoid configuration errors.
Understanding DNS and Nameservers
DNS (Domain Name System) translates your domain name into an IP address, while nameservers direct traffic to your hosting server. Without correct nameservers, your website cannot communicate with Bluehost’s servers.
Table 1: Key Domain Connection Terms
| Term | Meaning |
|---|---|
| DNS | Translates domain names into IP addresses |
| Nameserver | Directs domain traffic to your hosting provider |
| Registrar | Company where your domain is registered |
| Propagation | Time taken for DNS changes to update globally |
Step-by-Step Guide to Connect Any Domain
Finding Your Bluehost Nameservers
- Log in to your Bluehost account.
- Go to Domains > My Domains.
- Click the domain you want to connect.
- Under Nameservers, select Use Custom Nameservers.
- Copy the nameserver information provided by Bluehost.
Updating Nameservers at Your Domain Registrar
To point your domain to Bluehost, update the nameservers at the registrar where your domain was purchased:
- Log in to your domain registrar account.
- Navigate to DNS/Nameserver settings.
- Replace existing nameservers with the ones from Bluehost.
- Save changes.
Table 2: Popular Domain Registrars & Nameserver Locations
| Registrar | Settings Location |
|---|---|
| GoDaddy | Manage DNS > Nameservers |
| Namecheap | Domain List > Manage > Nameservers |
| Google Domains | My Domains > DNS > Custom Nameservers |
Note: DNS propagation may take up to 48 hours. Use online tools to check propagation.
Checking DNS Propagation
After updating nameservers:
- Use WhatsMyDNS or DNS Checker to verify propagation.
- Enter your domain and check A Records to confirm pointing to Bluehost’s server.
- Wait for updates to appear globally.
Connecting Your Domain to WordPress on Bluehost
To link your domain with WordPress:
- Log in to Bluehost > My Sites.
- Click Create Site.
- Enter Site Name and Tagline.
- Choose the domain you connected earlier.
- Install WordPress and follow the setup wizard.
- Visit your domain to confirm the site is live.
Tip: Bluehost automatically configures SSL for WordPress domains purchased directly through them.
Bluehost Cheapest Hosting Plan for Small Business
For small business owners, Bluehost offers affordable shared hosting plans ideal for startups.
Plan Features:
- 1 website included
- Free domain for 1 year
- 50 GB SSD storage
- Free SSL certificate
- 24/7 customer support
Table 3: Cheapest Hosting vs Standard Plan
| Feature | Cheapest Plan | Standard Plan |
|---|---|---|
| Price/month | $2.95 | $5.45 |
| Websites | 1 | Unlimited |
| Storage | 50 GB SSD | 100 GB SSD |
| Free Domain | Yes | Yes |
| SSL Certificate | Free | Free |
Why Choose This Plan: Perfect for small business owners looking to start online with minimal cost.
Buy Bluehost Domain with Free SSL in USA
Buying a domain from Bluehost in the USA is simple and secure, and SSL is included.
Steps to Buy Bluehost Domain:
- Visit Bluehost.com.
- Click Domains in the menu.
- Search for your desired domain.
- Add to cart and confirm SSL checkbox is selected.
- Complete checkout to secure your domain.
Common Issues and Troubleshooting
Even after proper setup, some users face issues:
- Website not loading: Check DNS propagation and nameservers.
- WordPress login issues: Clear browser cache or reinstall WordPress.
- Email delivery problems: Verify MX records in DNS settings.
- SSL certificate not active: Ensure domain is connected and SSL is enabled.
Table 4: Troubleshooting Checklist
| Issue | Solution |
|---|---|
| DNS not propagated | Wait 24–48 hours, check with propagation tools |
| Website downtime | Verify nameservers and hosting |
| WordPress errors | Reinstall WordPress or check plugins |
| SSL issues | Enable SSL in Bluehost > Security > SSL Certificate |
FAQ
How long does it take to connect a domain to Bluehost?
DNS propagation usually takes 24–48 hours, though some updates appear within minutes.
Can I transfer my domain from GoDaddy to Bluehost?
Yes, unlock your domain and use the Bluehost domain transfer tool.
Do I need to buy SSL separately for a Bluehost domain?
No, Bluehost includes a free SSL certificate for all domains purchased directly.
What is the cheapest Bluehost hosting plan for small business?
The shared hosting plan at $2.95/month includes 1 website, 50 GB SSD storage, and free SSL.
How do I connect WordPress to my Bluehost domain?
Install WordPress via My Sites dashboard, select your domain, and follow the setup wizard.
Can I use a domain purchased elsewhere with Bluehost?
Yes, update the nameservers at your domain registrar to point to Bluehost.
What should I do if my website doesn’t load after connecting the domain?
Verify DNS propagation, correct nameservers, and active hosting on Bluehost.
Conclusion
Connecting a domain to Bluehost is straightforward with the correct steps. Proper DNS, nameserver configuration, and WordPress setup ensure a secure and accessible website. For small businesses, pairing a domain with Bluehost cheapest hosting plan for small business and buying a Bluehost domain with free SSL in USA offers an affordable, professional online presence.
Following this guide, even beginners can launch their websites confidently and efficiently.