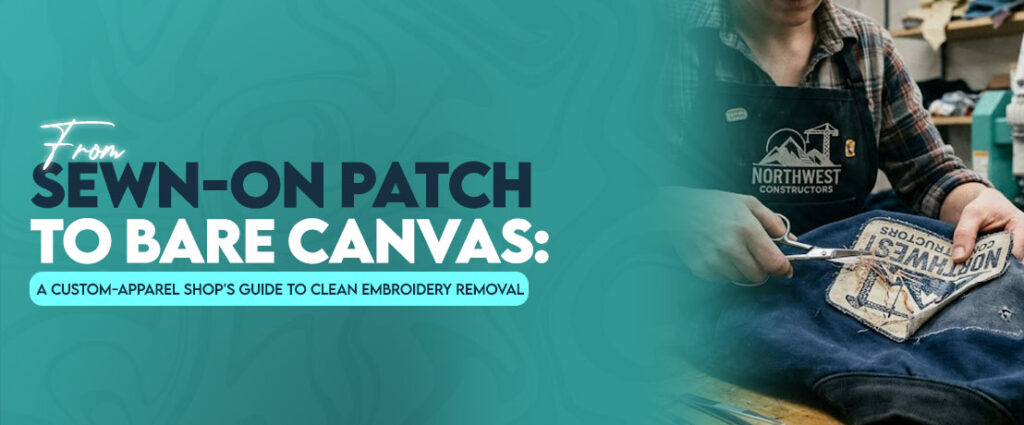

From Sewn-On Patch to Bare Canvas: A Custom-Apparel Shop’s Guide to Clean Embroidery Removal
A customer walks in holding a jacket with an old company logo stitched on the chest, and they want it gone before the new design goes on. This happens more often than most people outside the industry realize. Companies get these requests every week, and if you rush the project or use the wrong tool, you end up with a hole where a clean patch used to be, and that hole is a lot harder to explain to a customer than a slightly slower turnaround time.
Learning how to remove embroidery properly comes down to patience, the right tools, and a bit of trial and error. Here is what years on the shop floor taught me:
- Pulled apart hundreds of patches over the years, some easy, some that fought back the whole way
- Picked up a few tricks along the way that saved a lot of fabric from getting ruined
- Ruined a garment or two early on, which was not fun, but it taught me more about fabric behavior than any manual ever could
- This guide covers removing embroidered patches without wrecking the garment underneath
- It also touches on what to do with applique embroidery digitizing projects that need a fresh start
Why Shops Need a Reliable Way to Remove Old Embroidery?
Garments come back for a fresh redesign more often than people think, and shops need a dependable process ready for it. Without one, every rework project turns into guesswork, and guesswork is where fabric gets damaged.
Common Reasons Garments Come Back for Rework
- Companies rebrand and the old logo needs to disappear before the new one goes on
- Employees change teams and the garment gets passed along for a fresh design
- Sports clubs update their logos and old uniforms need reworking instead of replacing
- A customer picks the wrong design the first time and wants a do over
- The garment is usually good quality and worth saving
- That is exactly why the shop needs a reliable way to remove embroidered patch work off it
What Happens to Fabric When Removal Is Done Wrong?
I have seen jackets return from other shops with jagged holes right where a logo used to sit. Someone got impatient, cut too close, or yanked the thread instead of snipping it. Once that happens, the fabric usually cannot be saved for a clean re-stitch, and the customer ends up paying for a patch or a whole new garment. Slow and steady wins here, every single time. I still remind newer staff of this every chance I get, since a rushed five minutes on removal can turn into an hour of damage control later.
Tools You Need Before You Start Removing Stitches
- Having the right tools on hand before you start makes the difference between a neat and clean project and a frustrating one
- A cluttered bench with the wrong tools slows everyone down and adds extra minutes to every design
- Keeping a dedicated removal kit nearby saves time on every single project.
Seam Rippers, Embroidery Scissors, and Specialty Removers
- A basic seam ripper handles most everyday embroidery designs without any fuss
- A good pair of curved embroidery scissors gets into tight spots a seam ripper cannot reach
- A small electric stitch eraser speeds things up on heavier stitching, though it takes practice to control
- Keeping all three on the bench means grabbing the right one instead of forcing the wrong tool to work
- Reaching for the wrong tool halfway through a design just wastes time and risks the fabric
Choosing Tools Based on Fabric Type
- Denim can handle a bit more pressure without much risk to the fabric
- Thin polyester or performance fabric tears fast if you push too hard
- Match the tool to the fabric, not the other way around
- A seam ripper works fine on delicate fabric as long as you go slow and angle the blade away from the weave
- The electric eraser saves a lot of time on thicker canvas or twill without putting the fabric at risk
Step-by-Step Process to Remove Embroidery Without Damaging Fabric
- Following the same order every time keeps the process consistent and cuts down on mistakes
- This order works for almost every patch out there, from small logos to full chest designs
- Sticking to a routine also makes the task faster once it becomes second nature
Cutting the Bobbin Threads First
- Flip the garment inside out and find the bobbin threads first
- Snipping these loosens the top stitches and makes the rest of the design much easier
- Skipping this step is one of the most common reasons people struggle with removal
- Without it, the top stitches stay locked in place and fight back the whole way through
Lifting Stitches From the Top Side
- Once the bobbin side is loose, flip back to the front to start lifting stitches
- Gently lift the stitches with the tip of your seam ripper instead of tugging with your fingers
- Pull slowly, a few threads at a time, instead of tearing out big sections at once
- Patience matters more here than speed, since rushing this step is where most fabric damage starts
Handling Stubborn or Dense Stitch Areas
Dense fill areas take longer, and rushing them is where most damage happens. Work in small sections and keep checking the fabric underneath for stress marks. If a section feels tight or the fabric starts to pull, stop and work around it from a different angle instead of forcing it loose.
Dealing With 3D Puff or Heavy Fill Stitches
- Puff embroidery has foam underneath the stitches, which makes it thicker and harder to pull apart
- Cut a small slit in the top layer first instead of trying to pull the whole patch loose
- Work the foam and thread out together in small pieces rather than one big pull
- Yanking a puff patch out in one go almost always leaves a visible mark
- The foam tends to leave a slight outline on the fabric that needs extra steaming to work out
How to Treat the Fabric After Stitches are Removed?
- Once the old stitching is gone, the fabric needs a bit of care before it is ready for anything new
- This part gets overlooked a lot, and the shortcut shows up the moment the new design goes on
- A few extra minutes here save you trouble
Removing Leftover Holes and Fuzz
- Small needle holes and loose thread fuzz are normal after removal
- A lint roller picks up most of the stray fibers in a couple of passes
- A fabric shaver cleans up the stubborn fuzz without pulling on the weave
- Running the shaver in light passes rather than pressing hard keeps the fabric from thinning out further
Pressing and Steaming the Area Back to Shape
Steam works wonders here. A few passes with a steamer relax the fabric and close up most of the small holes left behind, especially on cotton and cotton blends. On synthetic blends, a lower heat setting works better, since too much steam can leave a shiny mark on the fabric surface.
Testing the Fabric Before Re-Embroidering
Before sending it back for a new design, stretch the area gently by hand and check for thin spots. If the fabric feels weak, adding a bit of extra stabilizer during the next stitch out keeps the garment holding together. I always do this check under bright light, since thin spots are easy to miss in dim shop lighting.
Fabric Specific Removal Tips
Different fabrics react differently to removal, so it helps to know what to expect before you start cutting. A one size fits all approach almost always ends up damaging something.
Removing Embroidery From Denim and Twill
Denim and twill are easy to work with. They handle a firmer hand, and small holes usually blend into the weave once pressed. This makes them some of the easiest fabrics to work with during rework design.
Removing Embroidery From Knit and Stretch Fabrics
Knits stretch and pucker easily, so pulling threads too fast distorts the shape. Go slow, and hold the fabric taut with your free hand as you work. A little tension while pulling keeps the knit from bunching up around the area you are working on.
Removing Embroidery From Delicate or Thin Fabrics
Thin fabrics like polos need the lightest touch of all. A seam ripper with a fine point works better than scissors here, since scissors risk nicking the fabric itself. I usually work these in smaller sections than I would with sturdier fabric, just to stay in control the whole time.
Mistakes That Ruin Garments During Patch or Logo Removal
A few habits cause most of the damage I see on rework projects, and they are easy to avoid once you know what to watch for.
Cutting Too Close to the Fabric
Getting too close with scissors is the number one cause of holes. Leave a small buffer of thread and pick the rest out by hand instead of chasing every last fiber with a blade. It takes a little longer, but it protects the fabric a lot better than trying to get a perfectly clean cut in one pass.
Skipping the Stabilizer Check
- Original stitching sometimes pulls the stabilizer tight against the fabric underneath
- Removing the stitches without checking underneath can leave stiff patches or glue residue behind
- What gets left depends a lot on which backing was used in the first place
- Always check what is underneath before assuming the design is actually done
- A quick feel of the fabric from the back tells you almost everything you need to know
FAQs
Q1. Can embroidery be removed without leaving holes in the fabric?
Yes, as long as you go slow and use the right tool for the fabric type. Rushing is what causes holes, not the removal itself.
Q2. What’s the safest tool for removing embroidery from thin or delicate fabric?
A fine point seam ripper works best on delicate fabric since scissors can nick the weave.
Q3. Does embroidery removal work on all fabric types?
Most fabrics can handle removal, but stretchy knits and thin performance fabric need extra care to avoid puckering or tearing.
Q4. How long does it usually take to remove a logo or patch by hand?
A simple logo takes about fifteen to twenty minutes, while dense or puff designs can take closer to an hour depending on the size.
Author Bio
Matthew Davis
Senior Embroidery Digitizer
I’m Matthew Davis, a skilled embroidery digitizer with more than 15 years of practical experience. I specialize in logo digitizing, 3D puff embroidery designs, applique digitizing, custom embroidery digitizing, and working with difficult fabrics. Over the years, I have worked with different fashion brands and production teams worldwide.
I always share simple tips and useful techniques to help both beginners and businesses improve their embroidery work.