
You know that feeling when your frontal hair is laid to absolute perfection, but after a couple of weeks, reality sets in? Makeup buildup, sweat, edge control, and residual glue start to form a stubborn, gray crust along the lace. Your once-flawless install now feels itchy, heavy, and looks noticeably lifting.
When you reach this point, you face a major dilemma: how do you completely refresh, wash, and reinstall that dirty frontal without shedding away its density?
Lace frontals are notorious for losing hair during the maintenance process. Because every single strand is hand-tied into a delicate lace matrix, rough washing or aggressive adhesive removal will pull those knots right out, leaving you with patchy bald spots.
Whether you are wearing a standard ear-to-ear lace closure, a full lace frontal, or a comprehensive 360 lace frontal wig, this step-by-step guide will teach you the exact science of safely removing buildup, washing the hair, and reinstalling it like a pro stylist—all while preserving every single strand of hair density.

The Core Problem: Why Frontals Lose Density During Maintenance
Before grabbing your shampoo, it helps to understand why frontals are so fragile. Unlike machine-wefted hair extensions, a full lace frontal relies entirely on tiny, single or double knots tied onto a sheer lace backing. These knots are incredibly susceptible to mechanical stress and chemical degradation.
When you use heavy glues or layers of holding spray, the adhesive seeps into the knots. If you try to pull or slide the lace off your forehead before that adhesive is completely dissolved, you aren’t just pulling the lace from your skin—you are pulling the hair knots out from the back of the lace. This is the number one cause of premature balding on frontal hair pieces.
Furthermore, using the wrong shampooing technique or scrubbing the lace vigorously creates friction that unties these delicate knots. To maintain density, we must use a meticulous “zero-tension” approach to cleaning.
Step 1: The Zero-Tension Removal Process
Never, under any circumstances, tug at a lifting frontal. Even if it feels like 80% of the glue has naturally detached, that remaining 20% will happily rip out your edges and ruin the lace.
- Saturate with the Right Solvent: Use a dedicated, oil-based lace remover or a high-percentage isopropyl alcohol (91% or higher). If your skin is sensitive or dry, stick to an oil-based citrus solvent.
- Apply and Wait: Spray or dabbing the solvent heavily along the hairline. Don’t rush. Let it sit for 3 to 5 minutes to actively break down the polymers in the glue.
- Gentle Wipe-Away: Use a damp washcloth or a wet wipe to gently push the lace backward, away from your forehead. If you encounter resistance, stop, apply more solvent, and wait again.
- Remove from the Braids: Carefully un-pop any combs or snip the elastic bands holding your 360 lace frontal wig or traditional frontal down, then lift the unit away completely.
Step 2: Stripping Glue Residuals Safely (The “Mirror Trick”)
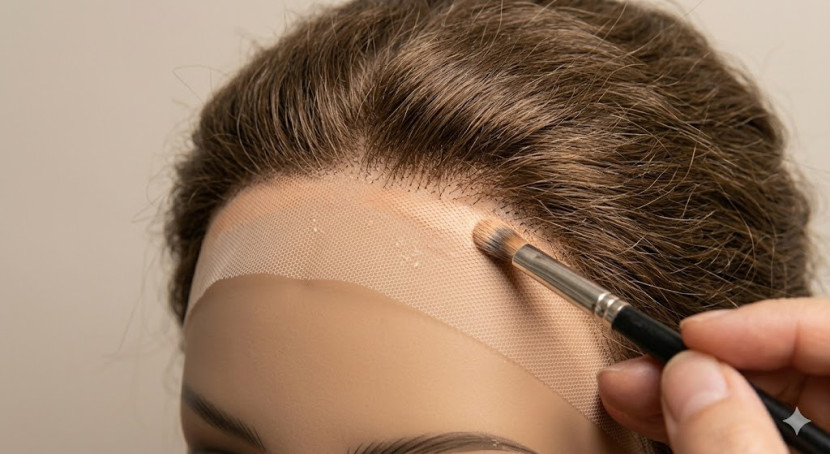
Once the frontal is off your head, you will likely see a gooey gel-like film stuck directly to the underside of the lace. Trying to wash this out with shampoo will turn it into an unmanageable, sticky ball of goo that permanently traps the hair. Instead, use the professional mirror trick.
Take your dry frontal and firmly press the sticky side of the lace against a clean, dry bathroom mirror or a flat plastic surface. Drag the lace downward flat against the glass. The friction of the smooth glass will grab the sticky adhesive residue and peel it away from the lace without pulling on the hair knots. Wipe the residue off the mirror with rubbing alcohol and repeat until the lace surface feels completely smooth to the touch.
Step 3: Washing the Frontal Without Friction
Now that the adhesive is gone, it is time to treat the dirt, sweat, and oils accumulated in the frontal hair.
1. Detangle When Dry
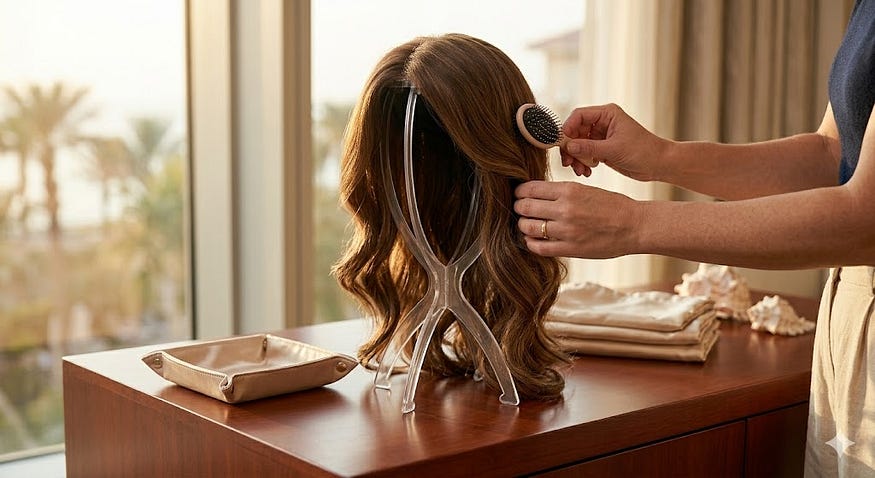
Always detangle the hair before it gets wet. Wet hair stretches and snaps much more easily. Use a wide-tooth comb or a paddle brush, starting strictly from the tips of the hair and working your way up to the roots. Hold the hair firmly just below the lace so your brushing doesn’t pull on the knots.
2. Use Luke-Warm Water and a Pushing Motion
Fill a clean sink or basin with lukewarm water. Never pour shampoo directly onto the lace. Instead, mix a sulfate-free, moisturising shampoo into the water until it is sudsy. Submerge the frontal.
Instead of rubbing the hair together in a scrubbing motion (which causes massive tangling and knot slippage), use a downward smoothing motion with your fingers. To clean the lace itself, take a soft-bristled toothbrush dipped in soapy water and gently dab it against the grime. Do not scrub left and right; simply press and sweep downward.
3. Deep Conditioning (With a Warning)
Apply a rich, moisture-dense conditioner from the mid-shaft of the hair down to the ends. Crucial Rule: Keep conditioner completely away from the lace and the knots. Conditioners are designed to lubricate hair fibres; if it coats the knots on your lace, it will lubricate them, causing them to untie and slip right out, destroying your hair density. Rinse thoroughly with cool water to seal the hair cuticles.
Step 4: Air Drying and Knot Sealing
When drying your frontal, heat is your enemy. High heat from a blow dryer can dry out the delicate lace material, making it brittle and prone to ripping.
- Gently squeeze out excess water with a microfiber towel (do not wring or twist).
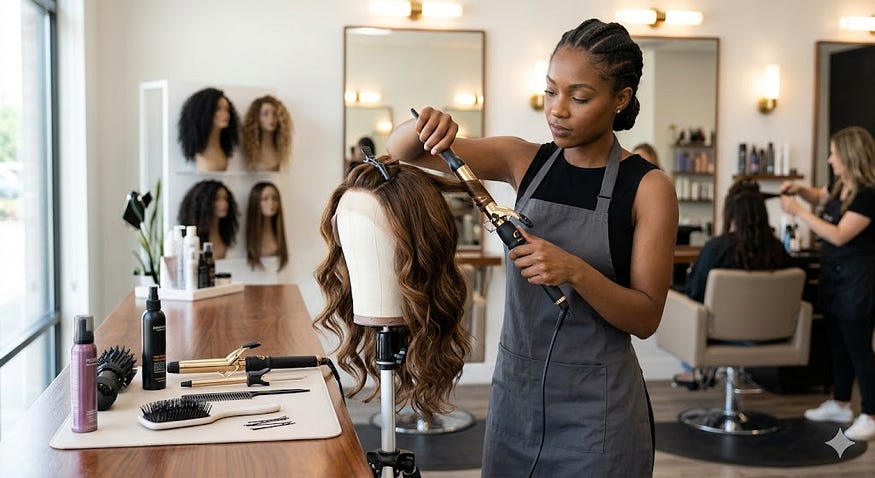
- Pin the frontal or your 360 lace frontal wig to a canvas mannequin head.
- Allow it to air dry completely.
- The Secret Weapon: Once dry, turn the unit inside out and lightly spray the underside of the lace with a commercial Knot Sealer or a lightweight, clear acrylic matte sealer spray. This creates a flexible, protective layer over the knots, locking them into place before your next installation.
Step 5: Preparing Your Natural Hair and Reinstalling
A clean install requires a pristine foundation. While your wig dries, wash your natural hair, deeply moisturise your scalp, and braid your hair into small, flat, neat cornrows.
[Clean Scalp Foundation] ➔ [Wig Cap Layer + Skin Protector] ➔ [Thin, Cured Layer of Adhesive] ➔ [Precise Frontal Placement]
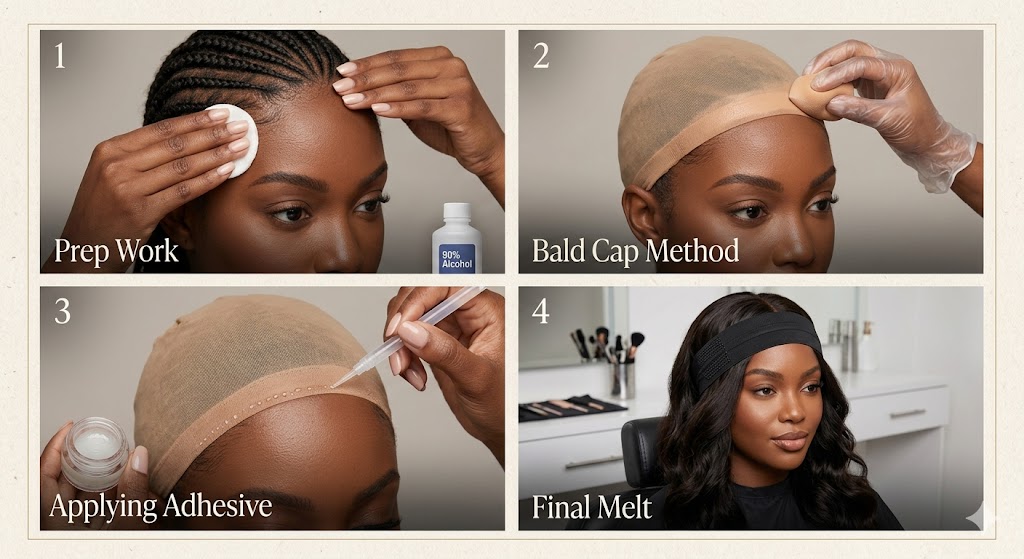
Apply a flesh-toned wig cap using the bald cap method if you prefer a seamless look, and clean your natural hairline thoroughly with 99% alcohol to remove all skin oils. Apply a skin protectant layer to prevent sweat and oils from lifting the adhesive prematurely.
When reinstalling, apply your favourite lace glue or holding spray in thin, even layers. Wait for each layer to turn completely clear and tacky before applying the next. Carefully lower your clean frontal onto the clear adhesive, press it down firmly with a fine-tooth comb, and tie it down tightly with an elastic melt band for at least 15 to 20 minutes.
The Complete Breakdown: Pros, Cons & Essential FAQs
To help you seamlessly navigate this process, let’s look at the direct trade-offs of maintaining your unit at home, alongside the answers to the most common maintenance dilemmas.
Pros & Cons of DIY Frontal Maintenance
| Pros | Cons |
| Saves Money: Eliminates expensive weekly or bi-weekly salon maintenance visits. | Time-Consuming: Doing the removal, cleaning, drying, and reinstalling correctly can take 2 to 3 hours. |
| Scalp Health: Gives your natural hairline and pores a chance to breathe and be washed thoroughly. | Learning Curve: Applying glue evenly and matching lace placement requires patience and practice. |
| Maximizes Longevity: Gentle at-home cleaning preserves the lace condition better than rushed salon turnarounds. | Risk of Mistakes: Accidentally putting conditioner on the knots can cause immediate shedding if careless. |
Frequently Asked Questions
Q: How often should I take off and wash my lace frontal?
A: For optimal hygiene and to prevent hair density loss, you should remove and deeply clean your frontal every 2 to 3 weeks. Leaving an install on for longer allows bacteria, sweat, and old glue to harden, which requires harsher chemicals and rougher scraping to remove later on.
Q: Can I use dish soap to get glue out of the lace?
A: While dish soap is excellent at cutting through grease and some oils, it has an incredibly high pH level that can strip human hair extensions of all moisture, leaving your frontal looking dry, frizzy, and matted. Stick to citrus solvents, isopropyl alcohol, or designated lace-glue removers.
Q: Why does my frontal shed every time I comb it after washing?
A: This usually happens because conditioner or hair oils made contact with the lace knots during the washing process, causing them to loosen. It could also mean you are combing the hair while it is soaking wet without using a proper leave-in detangling spray or proper root-support technique.
Conclusion
Washing and reinstalling a dirty frontal doesn’t have to result in a balding, thin unit. By shifting away from friction-heavy scrubbing and moving toward a gentle, solvent-based approach, you can preserve your unit’s volume for months.
Remember to take your time during the removal process, protect the lace knots from heavy conditioners, and always ensure your natural hair underneath is fully cleansed and dried before going in for your next flawless install. With a little patience, your hair will stay thick, your lace will stay melted, and your edges will stay fully protected.